Dealing with Needlephobia Using Machine Learning
For the last year and a bit, news websites around the world have been competing with each other to see how many photos they can host of people with needles sticking out of their arms. As a needlephobe, this invasion of my safe space has not gone unnoticed. I had previously thought that the news cycle might soon pass, but I realised recently that we will be talking about vaccinations and boosters for a while yet.
This left me with two options:
- Face my fears, confront my needlephobia and work towards being able to rationally handle the concept of an injection
- Find a way to hide images of needles whilst I am browsing the internet so that I can continue living as before without self improvement
Naturally, the second option was far more appealing.
The Plan
A good first step for any software project is to break the problem that you are trying to solve down into smaller problems. In this case, there were two clear problems that required solving.
The first problem was that I needed some software that could look at an image and detect whether it contains a needle. This is an image classification problem, and these problems used to be very difficult to solve. However, recent advances in the field of machine learning have made creating and using image classification models quite easy.
The second problem was that I needed some software that could find, test and hide images of needles that I encounter on the internet. The BBC news website is by far the most common source of offending images in my life, so I considered making a proxy website for my own personal use (I even came up with a name: Needle Free BBC). This would have the advantage of being easily available on all of my devices but the disadvantage of limiting the operational scope to a single website. I ended up deciding that a browser plugin was a more complete solution.
Building the Model
The first thing that I needed to gather was training data. If I was going to teach my model to guess whether an image contained a needle, that meant that I needed lots of images of needles (I also needed lots of images of things that are not needles). The more images I had, the more accurate my model was going to be.
The more astute readers may have already noticed my predicament.
The call was marginal at best, but I decided that it would be preferable to consolidate all of my needle viewing into a few hours. The alternative was living with the prospect of frequently encountering such images for months and maybe years to come.
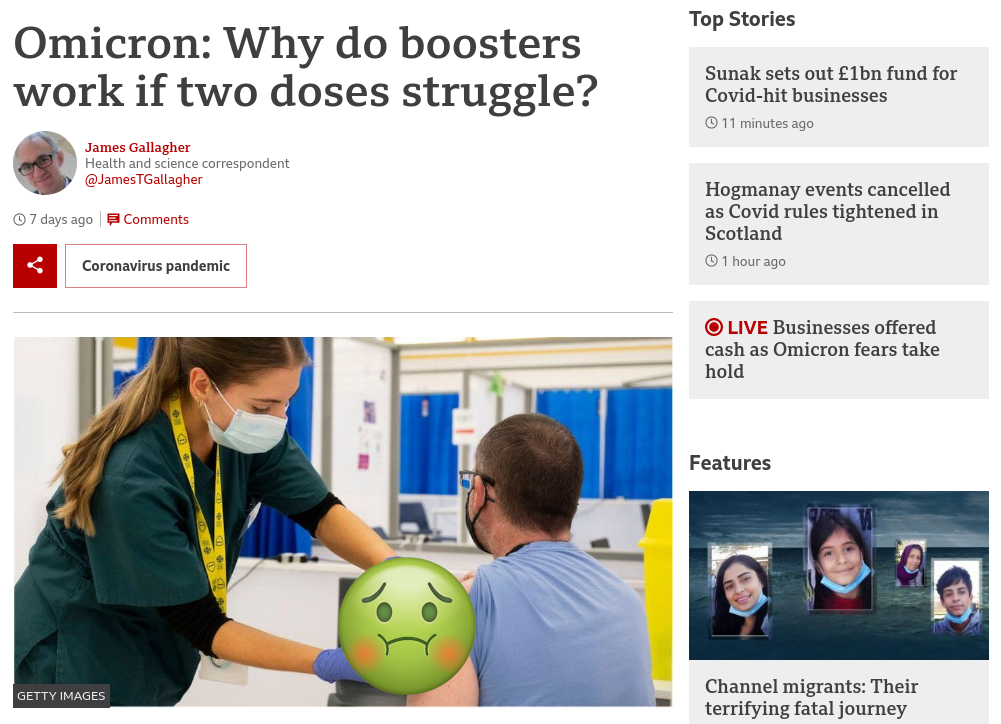
Initially it was difficult (and slow) to find enough good training examples for my dataset. The BBC website hosts an offensive number of needle photos, but not the hundreds that I needed to train my model. Luckily, they cite their supplier.

If the BBC website is a crack den for needle photos, then Getty Images is the coca plantation. When I was done my combined dataset (training and validation) contained 966 images and 548 of those were of needles. Doing this gathering made me feel pretty sick, and it is safe to say that I am glad this part of the project is behind me.
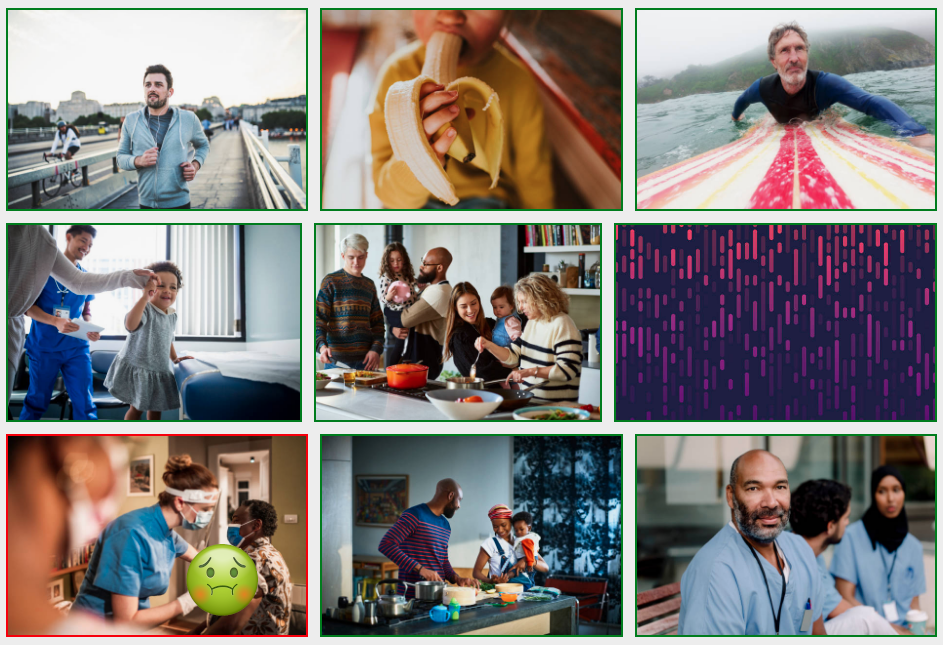
It is worth mentioning that my definition for whether or not an image contained a needle was pretty broad and I included images of people receiving vaccinations where the needle was not particularly visible. These images actually bother me the most, so the dataset contained lots of them.
I also cheated a bit when building my model. Training a good image classification model from scratch requires a huge amount of data. You can get a head start by using a pre-trained image classification model and then adding some extra layers on the end which you train against your own dataset. A reasonable mental model of this is that the pre-trained image classification model already knows how to see, and I added a bit on the end that taught it how to recognise needles.
The Keras machine learning API is so good that it is trivial and expressive to define this model in Python:
import tensorflow_hub as hub
from tensorflow.keras.models import Sequential
from tensorflow.keras.layers import Dense, Dropout

# We need to resize all images to be 224x224 pixels. The additional dimension of size 3 represents the three colour
# channels (red, green and blue). These dimensions are fixed by the MobileNetV2 model that we are using for our base.
IMAGE_SHAPE = (224, 224, 3)

mobilenet_v2 = 'https://tfhub.dev/google/tf2-preview/mobilenet_v2/feature_vector/4'

model = Sequential([
    # We do not want our base layer to be trainable (because it has already been trained and we do not want to overfit).
    hub.KerasLayer(mobilenet_v2, input_shape=IMAGE_SHAPE, trainable=False),
    # Dropout layers help with overfitting by randomly hiding input units during training (preventing the model from
    # relying heavily on individual neurons).
    Dropout(0.4),
    Dense(1)
])
Building the Plugin
Google Chrome extensions must include a manifest file that describes how the extension should be loaded. Here is mine:
{
  "manifest_version": 2,
  "name": "Needlephobe",
  "version": "0.1",
  "description": "Hide pictures of needles",
  "background": {
    "scripts": ["tf.min.js", "needlephobe_background.js"],
    "persistent": true
  },
  "content_scripts": [
    {
      "matches": ["*://*/*"],
      "js": ["needlephobe_foreground.js"]
    }
  ],
  "web_accessible_resources": ["resources/*"],
  "content_security_policy": "script-src 'self' 'unsafe-eval'; object-src 'self'"
}
There are two key parts to my extension, the foreground script and the background script. The foreground script is configured to be injected into every open web page. The background script will run persistently in the background and communicate with the foreground script using messages. This means that the model only needs to be opened once in the background. It also means that pages do not need to be blocked whilst images are examined, as this processing happens in the background.
The foreground script is pretty simple. For each image element that is detected, the URL for this image is sent to the background script. If a response is received saying the image is a needle, then the image is hidden.
function checkImage(image) {
  chrome.runtime.sendMessage({ url: image.src }, function (response) {
    if (response.isNeedle) {
      image.style.filter = "brightness(0)";
    }
  });
}
The background script is a bit more involved. The model is loaded, then the script waits for messages containing URLs from the foreground scripts. Once it has a URL, the image is loaded and processed to fit the input dimensions of the model. Then the image is checked against the model to see if it passes the barrier for being a probable photo of a needle. The script responds to the foreground script with this classification.
async function main() {
  tf.ENV.set("WEBGL_PACK", false);

  await tf.ready();

  model = await tf.loadGraphModel("resources/model.json");

  let cachedUrls = {};

  chrome.runtime.onMessage.addListener(function (
    request,
    sender,
    sendResponse
  ) {
    if (request.url in cachedUrls) {
      sendResponse({ isNeedle: cachedUrls[request.url] });
    } else {
      let imageElement = new Image();

      imageElement.onload = () => {
        tf.tidy(() => {
          let image = tf.browser.fromPixels(imageElement);
          let resizedImage = tf.image
            .resizeBilinear(image, [224, 224])
            .toFloat()
            .div(tf.scalar(255))
            .reshape([224, 224, 3])
            .expandDims(0);

          let prediction = model.predict(resizedImage);
          let isNeedle = prediction.dataSync()[0] < -2;
          cachedUrls[request.url] = isNeedle;
          sendResponse({ isNeedle: isNeedle });
        });
      };

      imageElement.src = request.url;
    }

    return true;
  });
}
Summary
Initially, the plugin generated a few false positives. I switched the behaviour so that instead of hiding photos it added a red or a green border depending on the classification. This was valuable because it made it easy to see the types of images that were confusing the model. I could then expand the training dataset to include more difficult training data, which greatly improved the results.
I considered making this extension publicly available on the Chrome Web Store, but if you want to do this then you need to pay to register as a developer and you probably need to actually maintain the extension afterwards.
All the code is up on GitHub; so if anyone is motivated they can package it up and distribute it.
In conclusion, if you ever feel like your irrational fears are holding you back in life, just use software engineering to change the world around you so that you do not have to confront them anymore.